2014 Shelby GT500 LockPick and Rear Camera Install
Components:
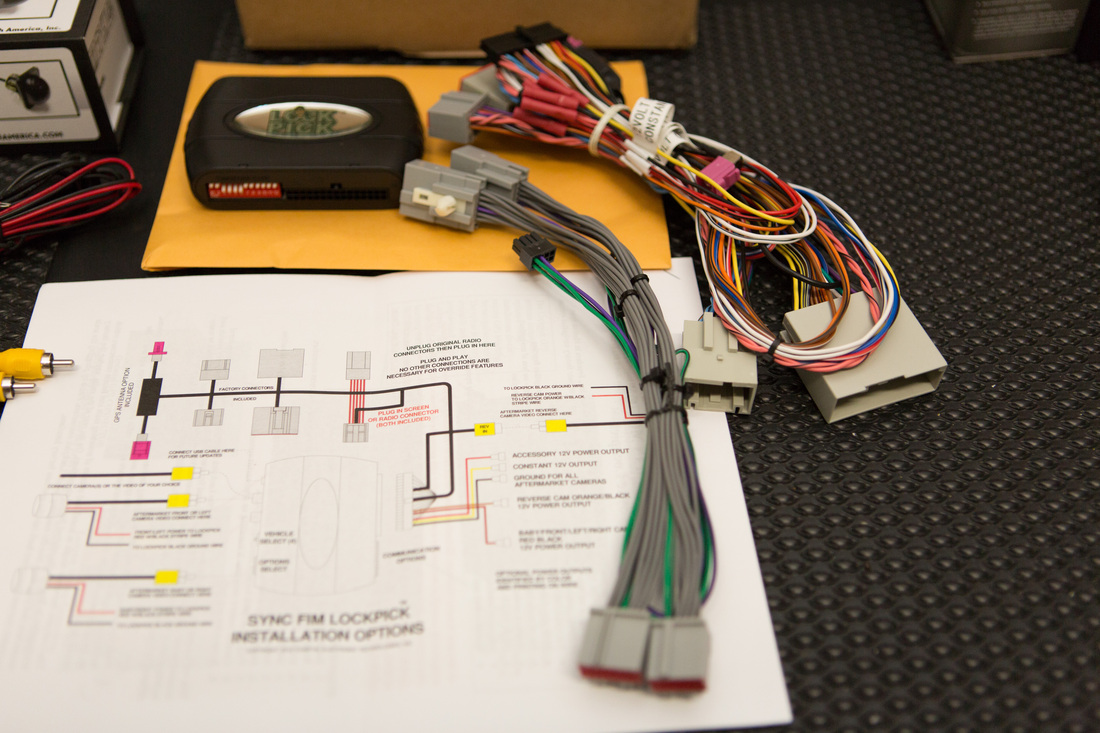
LockPick Sync Freedom In Motion - www.Coastaletech.com
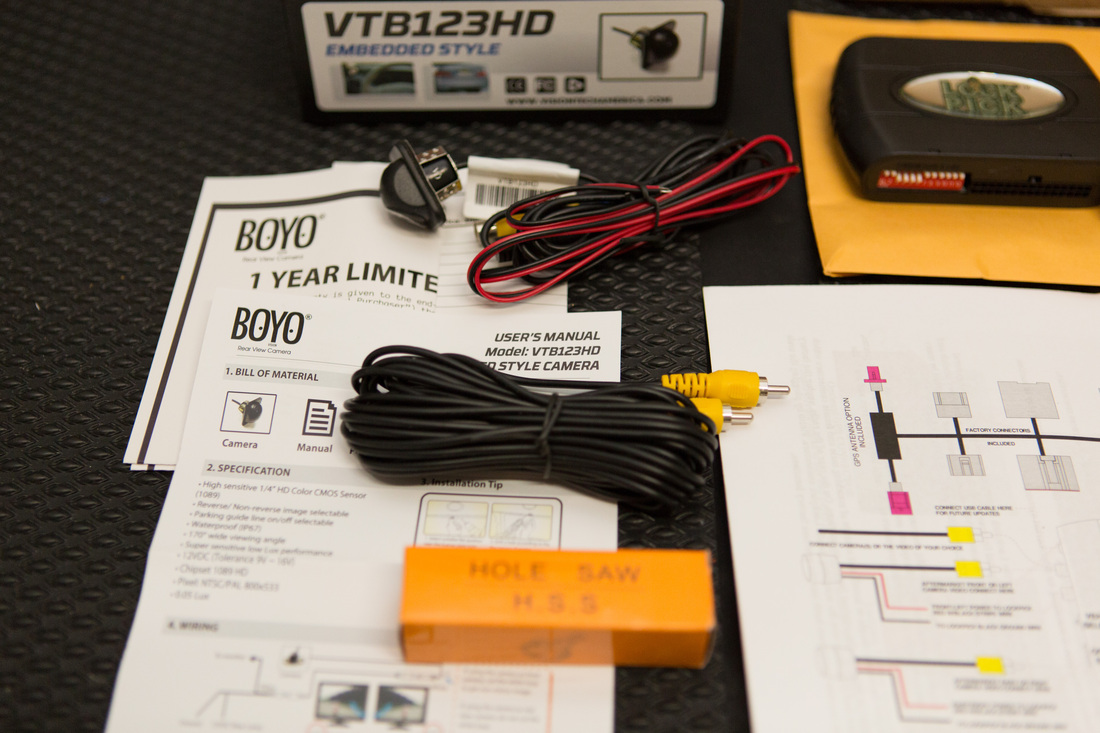
Boyo Vision VTB123HD Camera - Camera on Amazon
Box of tie straps
Power/Ground wire extension (I used speaker wire)
High Res Pictures
http://www.keithhicksphotography.com/Automobiles/2014-Shelby-GT-500/
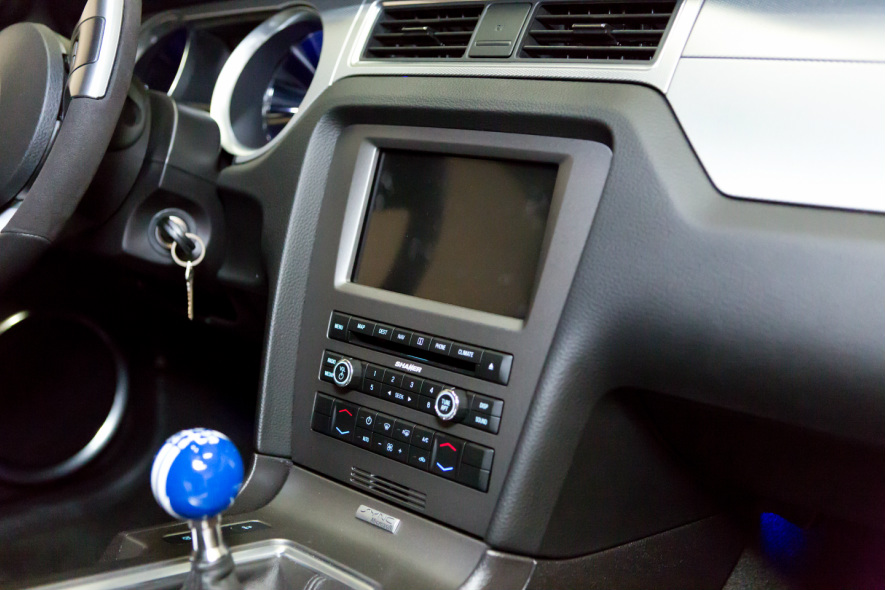
Since I have the rear camera on my 2012 GT, I grew tired of automatically looking down at the screen when backing up the Shelby. I decided to add a camera to the Shelby and this method works as well as the stock camera in my GT. Being able to watch DVD's and use the Nav while driving may prove to be a nice feature also.
First off you need to make sure you have the right factory system that matches the right LockPick.
Then you need the LockPick and Camera. I bought both at Sonic Electronics.

I started with the camera first.
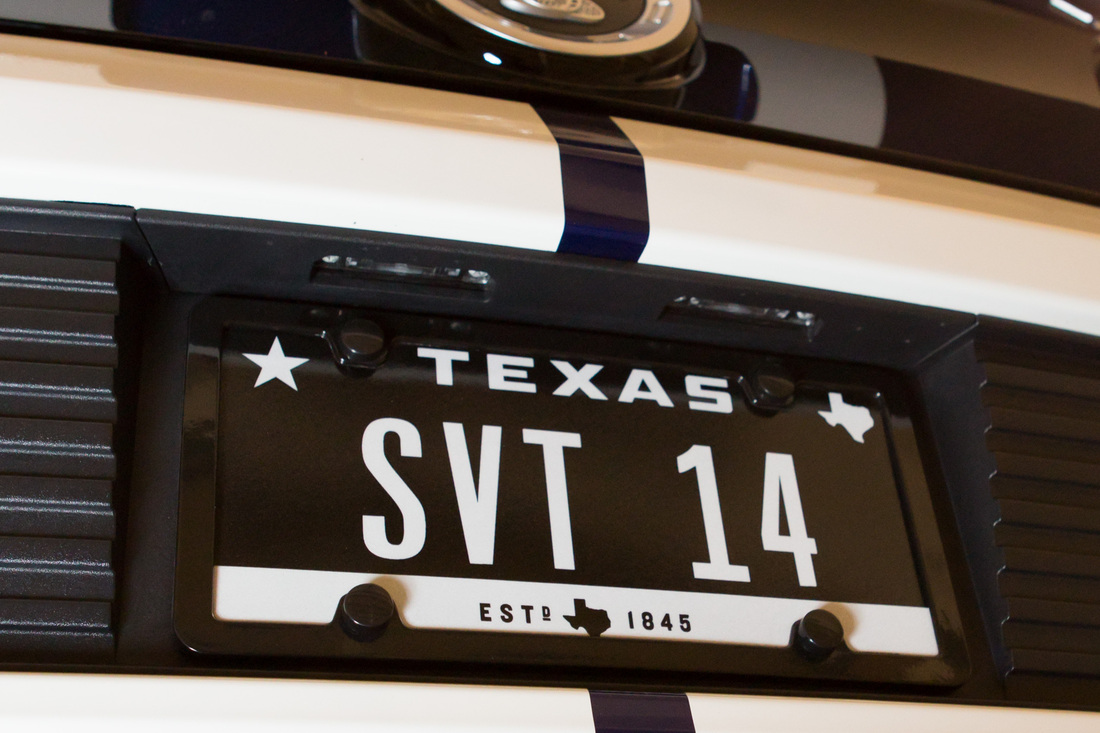
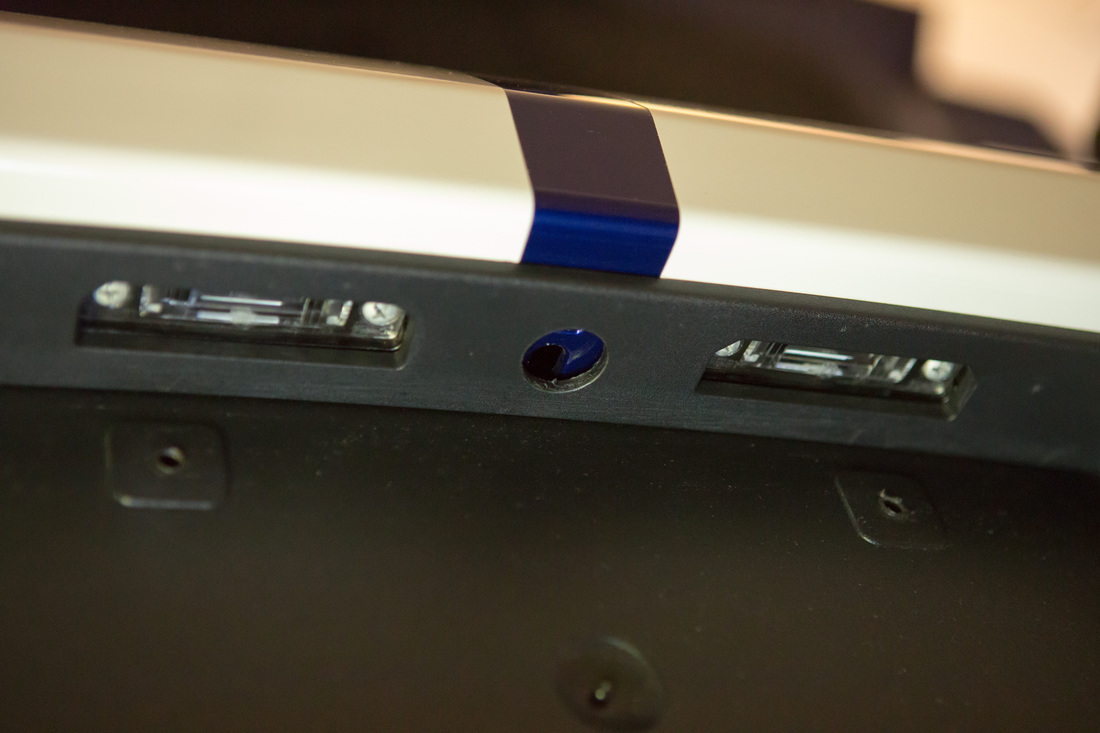
Remove the License plate and then carefully remove the license plate light bezel. I used a credit card and pulled straight down. There are three clips holding it up.

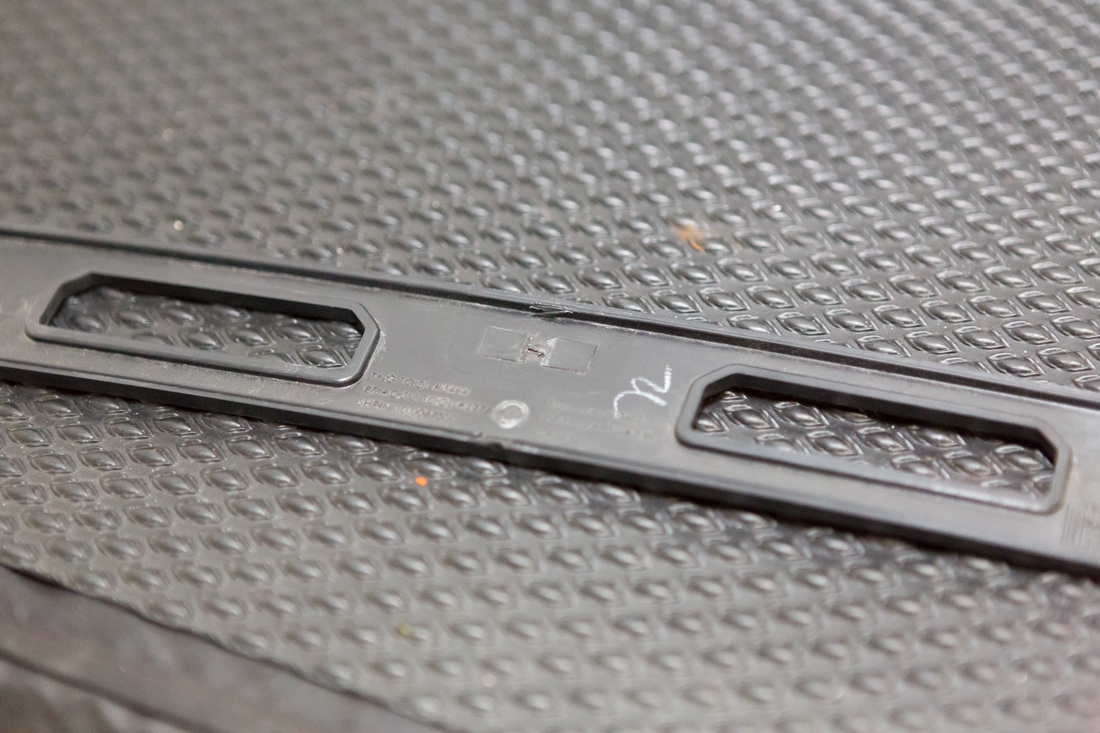
Here is the bezel
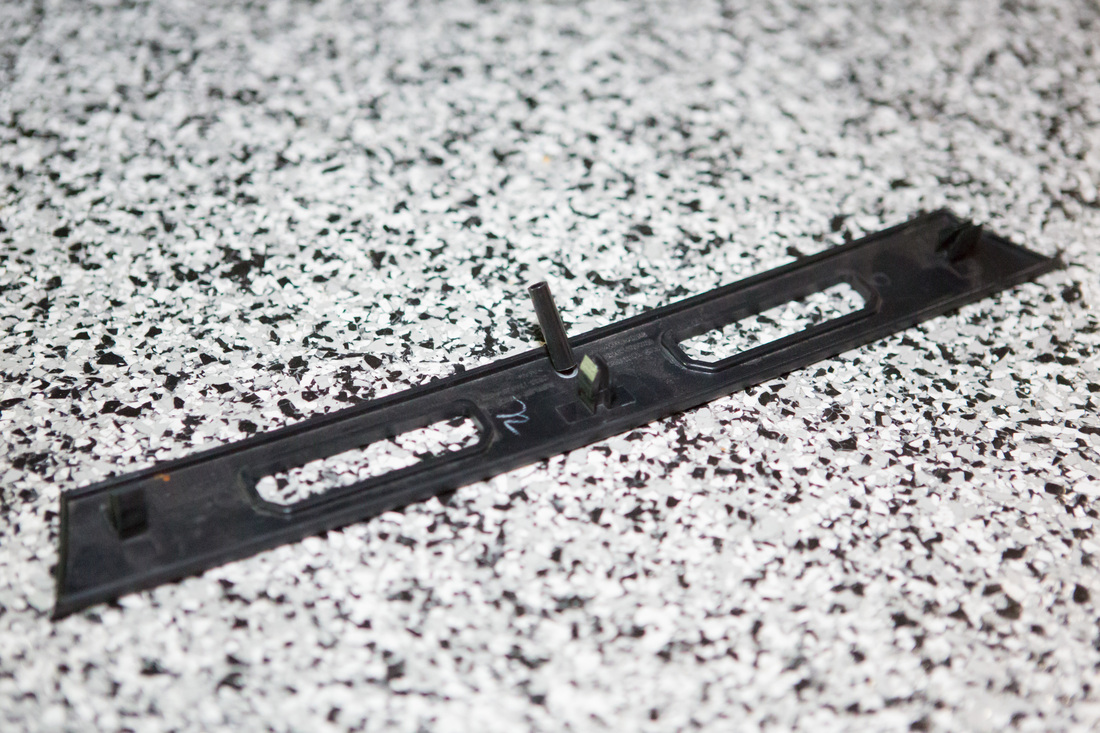
Cut the center pole and center clip off the bezel.
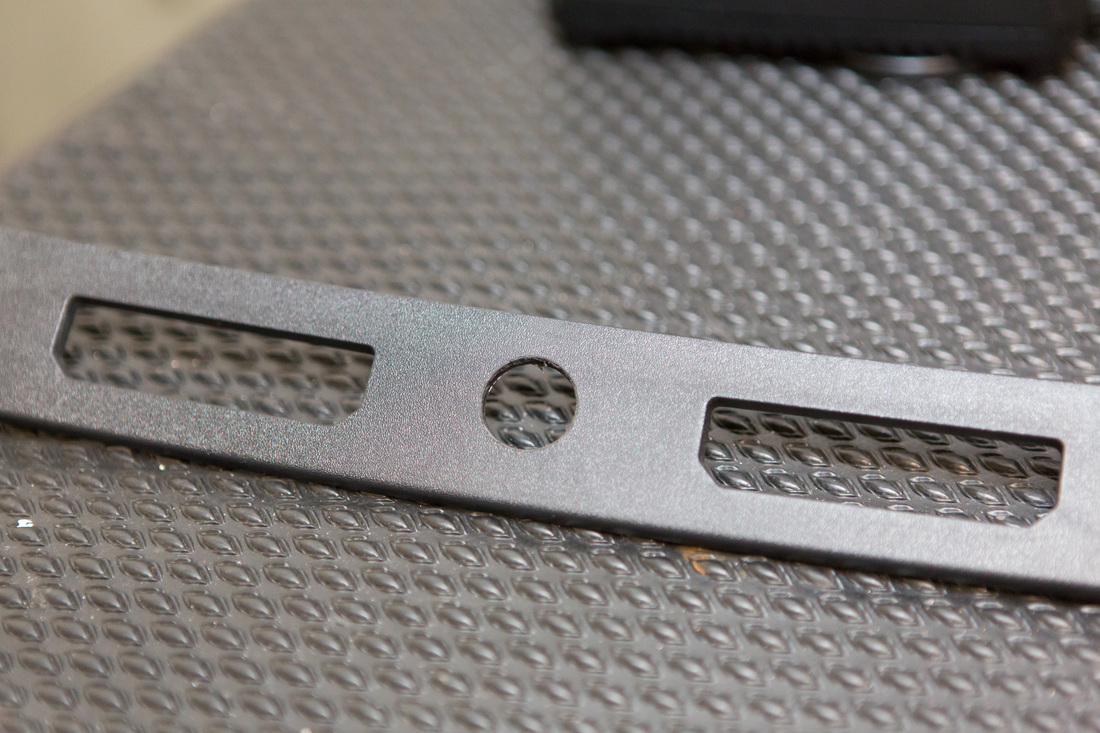
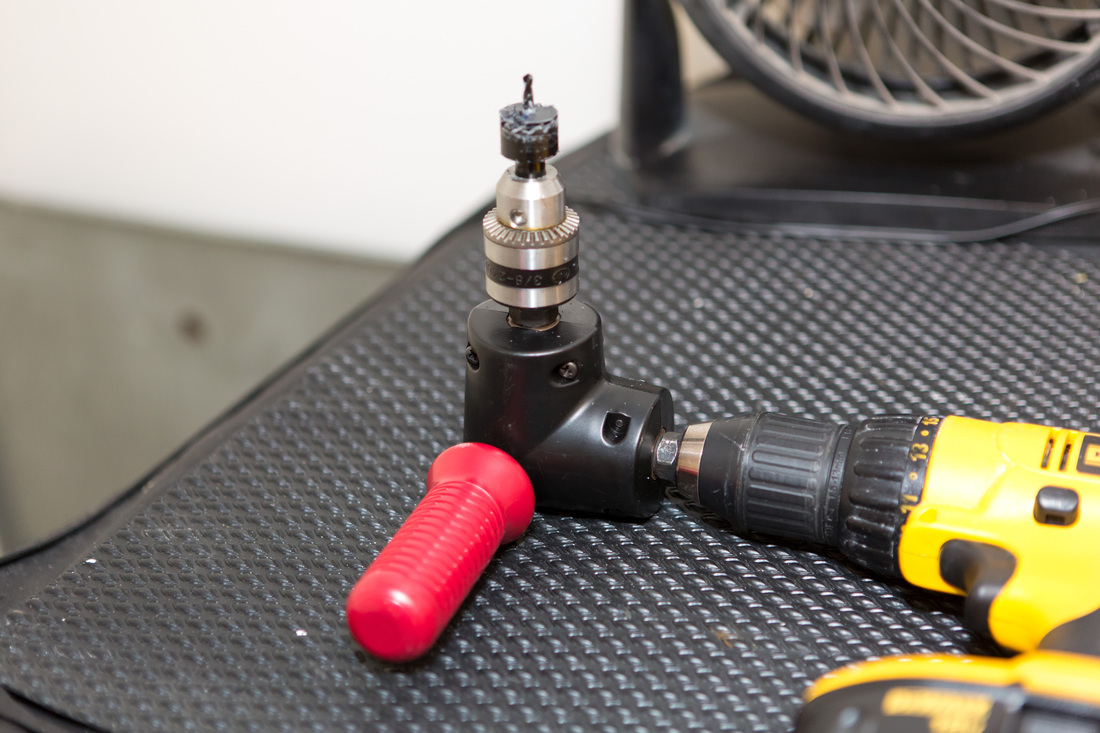
Next drill a hole right in the center of the bezel (bit provided with my Boyo)
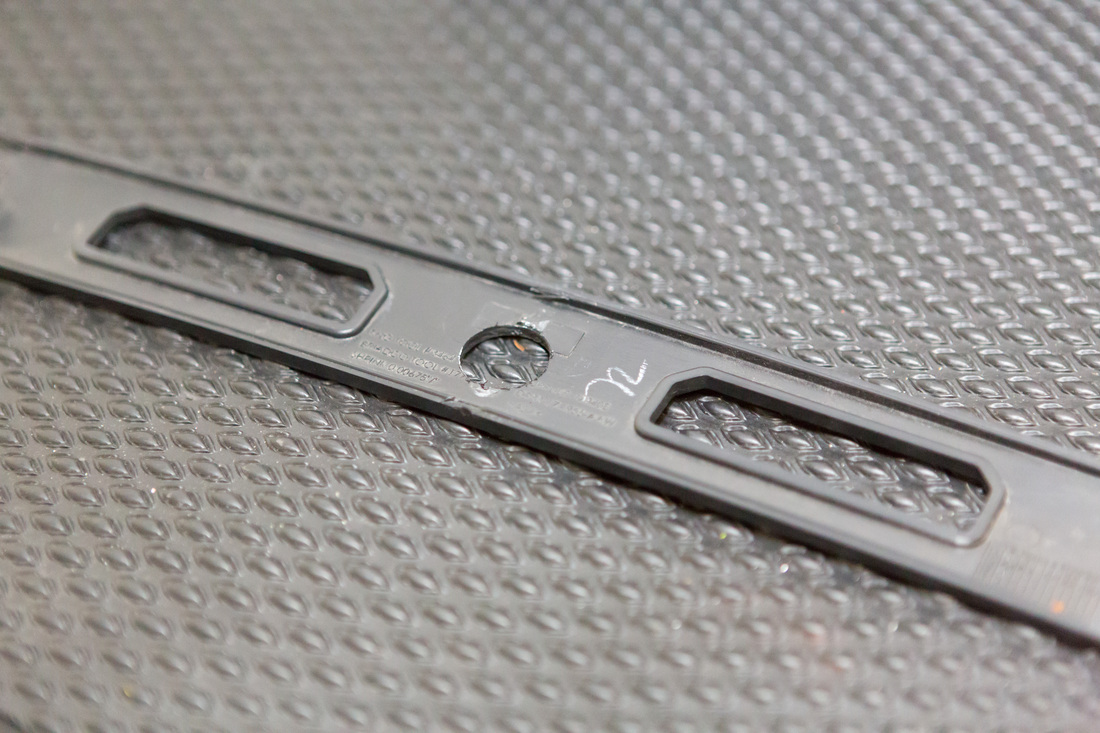
Make sure the surface is clean and flat
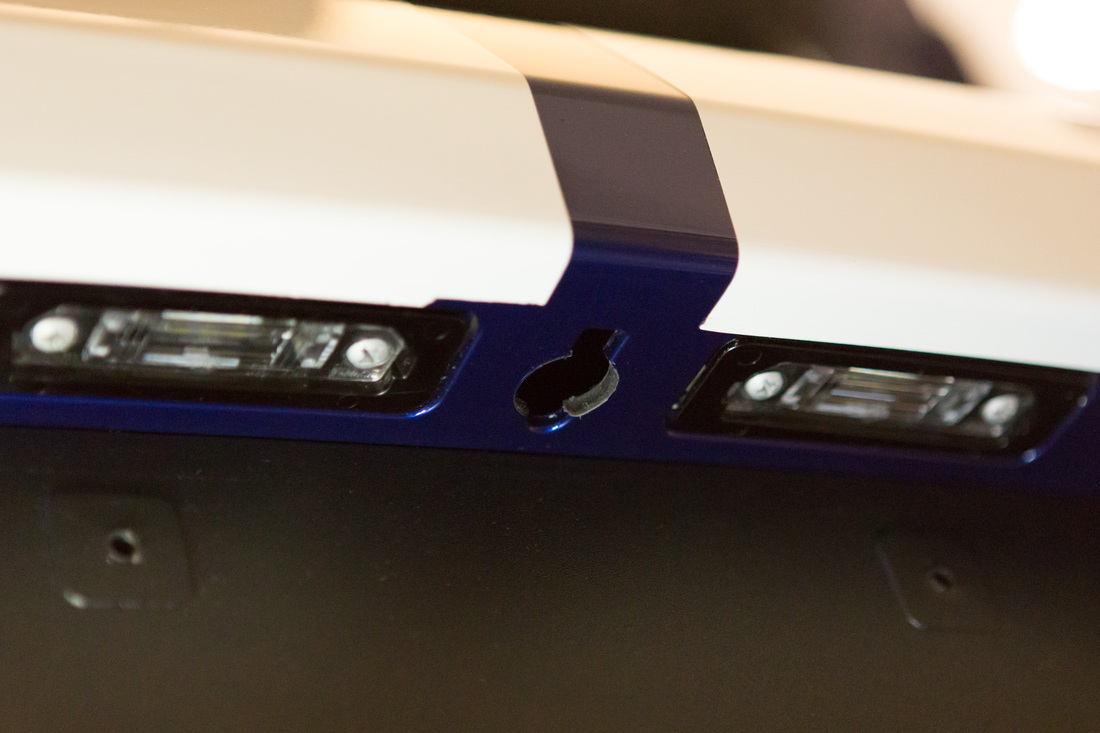
Put the bezel back on the car to drill into the bumper (I hated this part)
I used an angle attachment.
I only got the hole started, then removed the bezel just to be sure I didn't cut into it anymore, then I continued on the bumper hole.
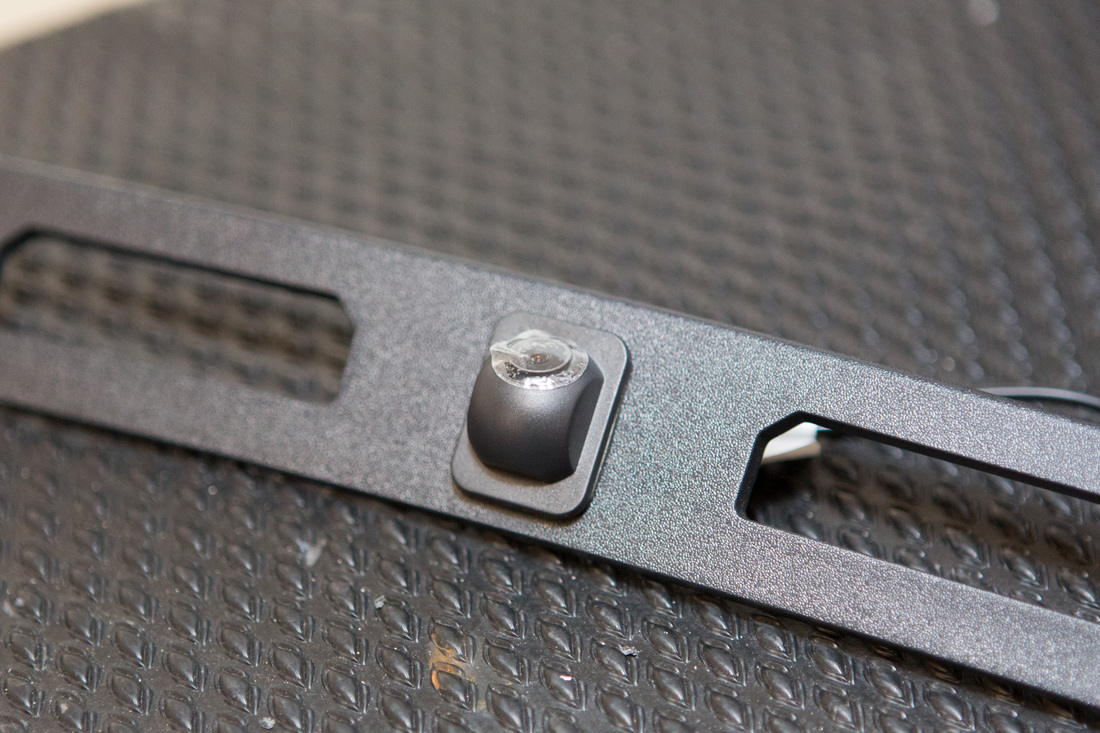
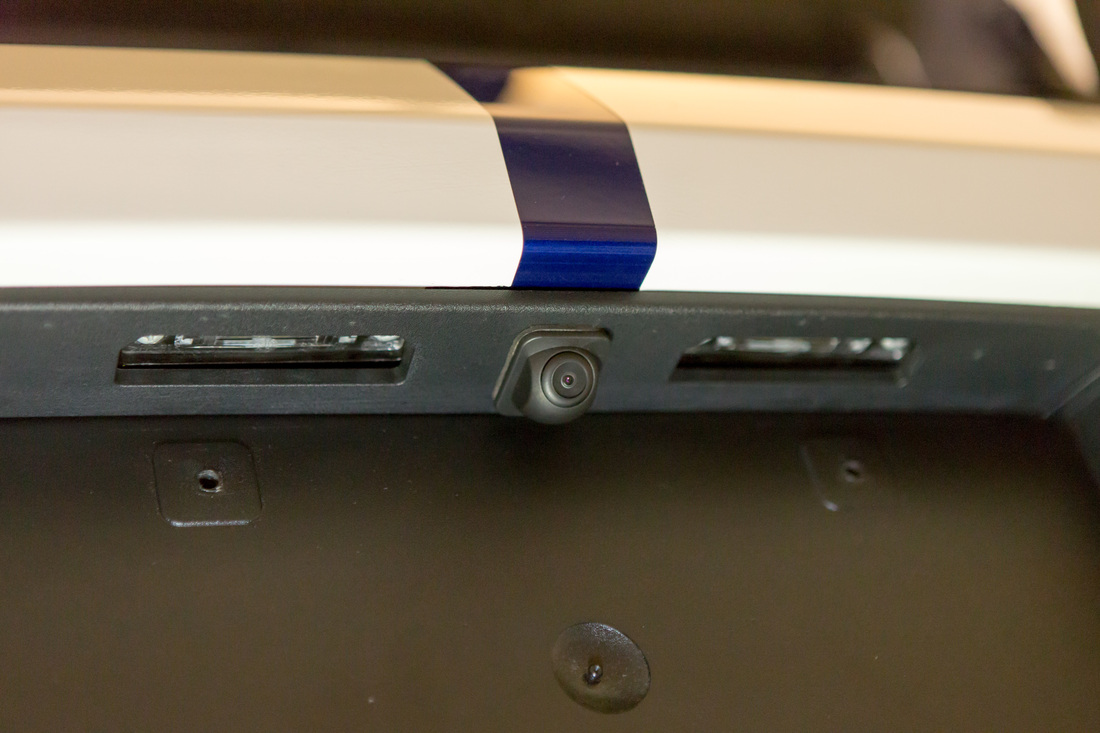
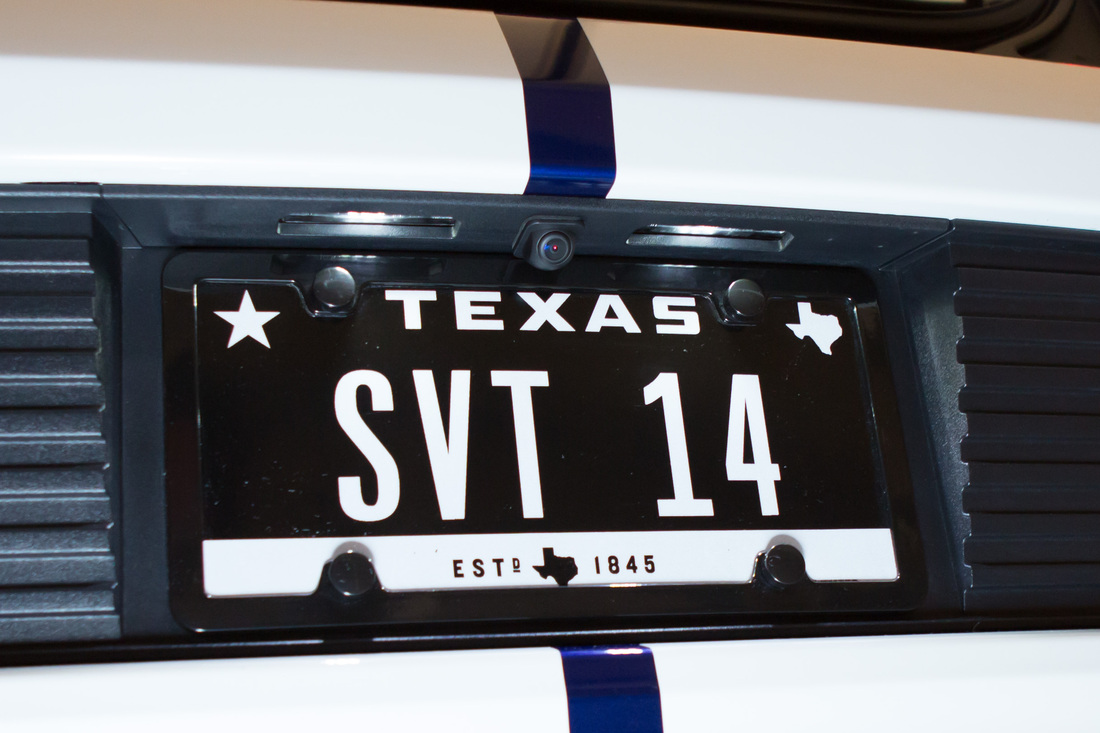
Then I pealed the tape off the camera and carefully lined it up in the bezel.
Remove the plastic trunk trim behind the license plate. You will need to unplug the trunk light (I used this as a excuse to install a LED bulb since the stock one gets so hot). Feed the camera wire in the hole you drilled in the bumper. Slightly to the passenger side of the trunk latch is a rubber grommet. Pull it out, catch your camera wire and poke a hole in the grommet to pull the wire through. Snap the grommet back in.

Now snap the bezel back in. Run the wires (yellow RCA provided and power/ground) up to the front. I ran it under the rear seat, along the passenger door sill, tie strapped it to the glove box hinge bracket and poked it behind the radio compartment.
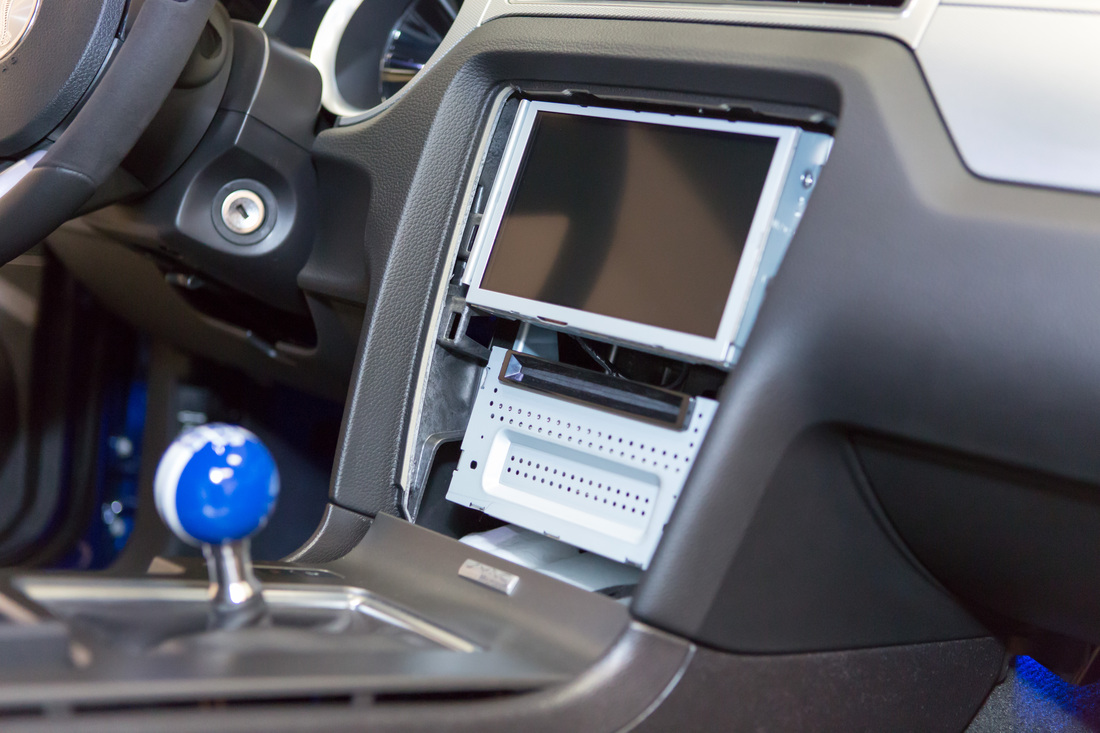
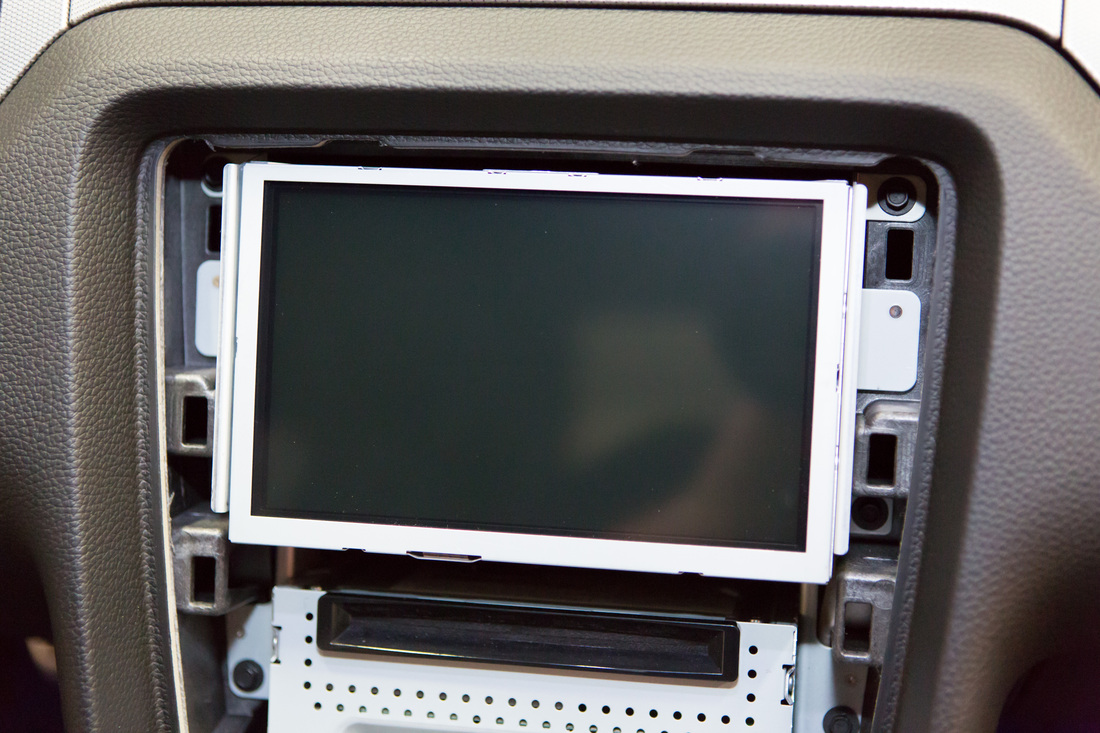
Now unsnap the center console, remove the bezel surrounding the Nav and carefully remove the screen. I just pulled the lower unit out some, but not all the way. I used a mirror to unplug the connectors and followed the instruction provided by the LockPick to plug in the harness. Make sure you used the GPS plug, large harness for the lower radio and the smaller one for the Nav screen (12 pin, the 8 pin is not used). Then there is a black connector that connects the large harness and the Nav harness together. Obviously you need to plug the LockPick into the harness. I then tie strapped it to the black box right behind the screen. Be patient, these wires are a little bit of a pain.
Button it all back up. Follow the instructions provided on programming and test out your camera. It should come on when you put the car in reverse.
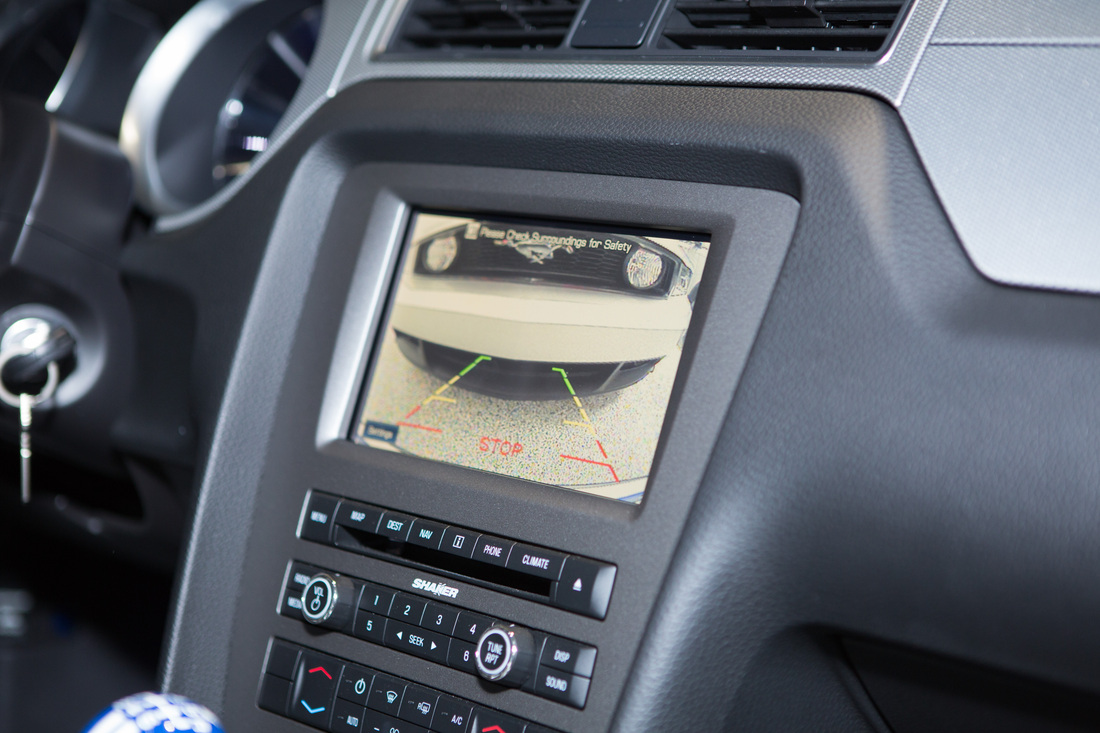
Turns out to be a nice, clean and hidden install.
We are a participant in the Amazon Services LLC Associates Program, an affiliate advertising program designed to provide a means for us to earn fees by linking to Amazon.com and affiliated sites.
