Mustang Hood Latch Adjustment\Modification
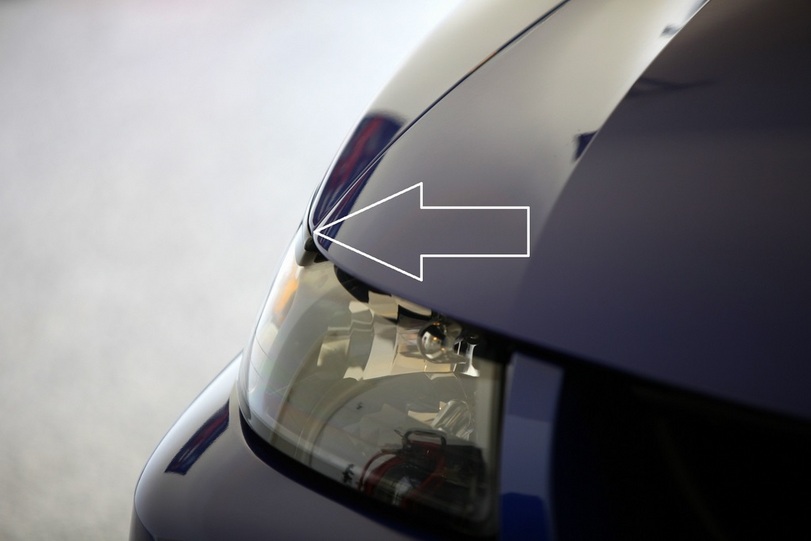
I found that no adjustment to the hood latch would help solve the difficulty I had closing my hood. Tired of slamming the hood to get it to shut, I started looking at it and found a simple solution. I installed a washer that acted like a shim between the latch brace and the latch, raising the latch up just enough to make the hood close perfectly.
Required tools:
1) Small Phillips screw driver
2) Torx T-30
3) 5/16 socket or wrench
4) Medium sized washer, maybe two
Approximate time to complete: 15 minutes
Step 1: Remove the 4 plastic screws along with the grommets they thread into
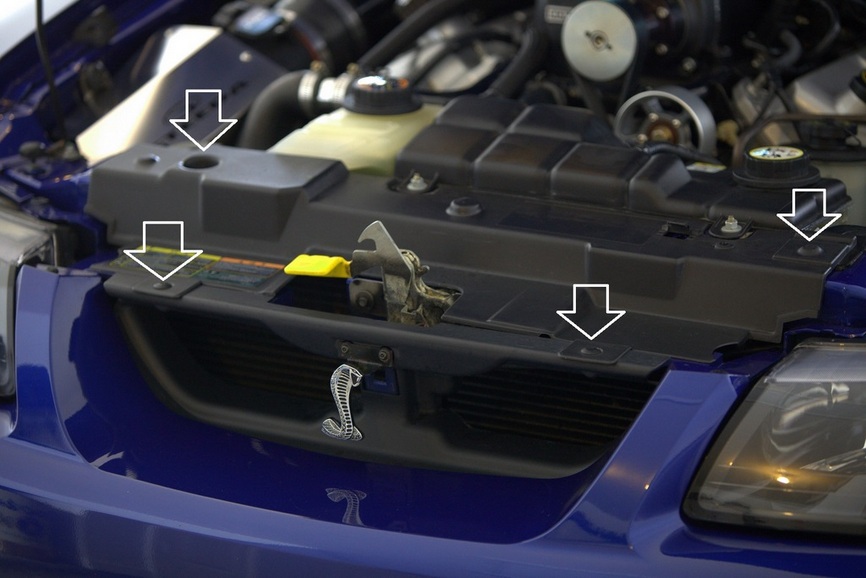
Step 2: Remove the plastic cover
Step 3: Remove the three 5/16th bolts and then the T-30 Torx screw
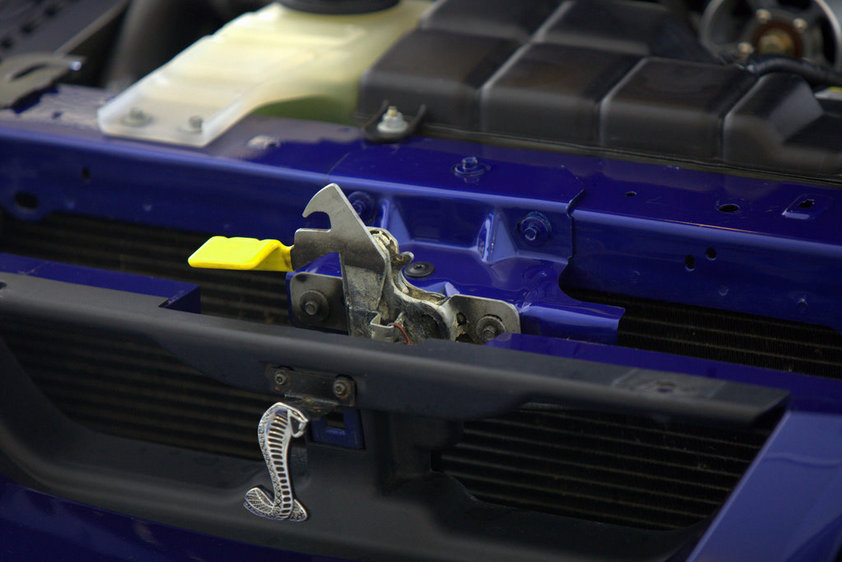
Step 4: Carefully remove the latch assembly and set it aside. It does has sharp edges
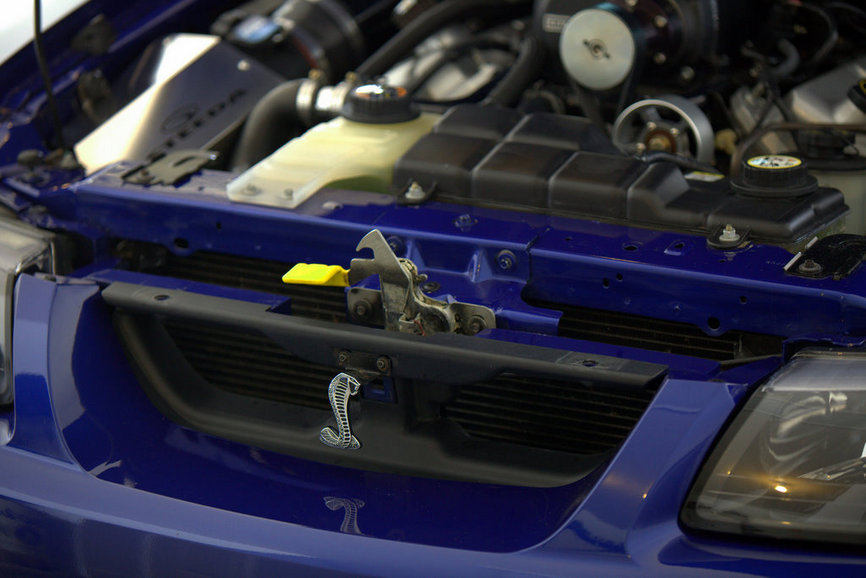
Step 5: Make sure the latch brace clip stays in place
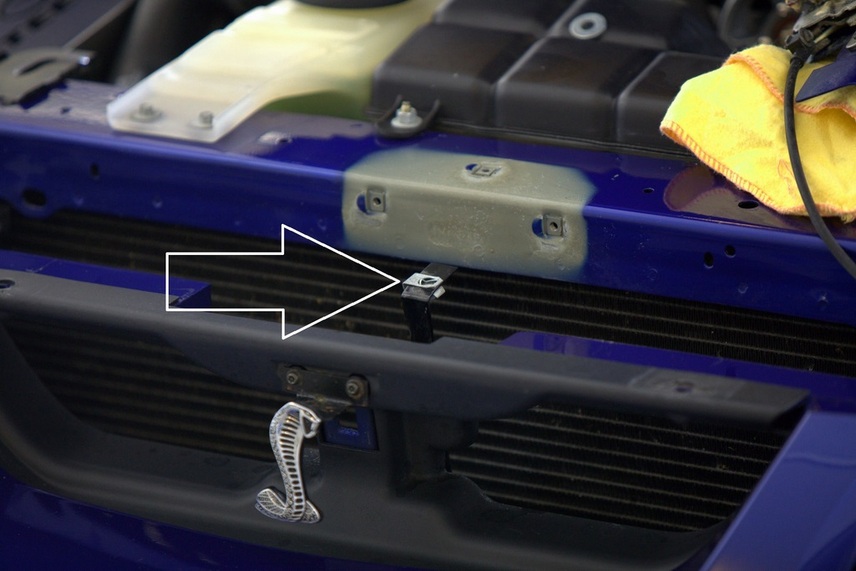
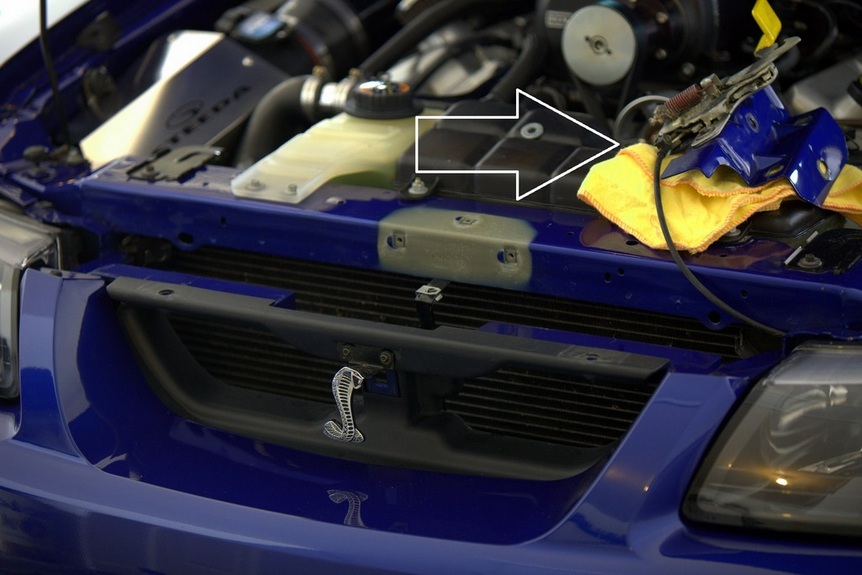
Step 6: Place washer on top of brace. I used a drop of silicon glue to keep in place, but it is not necessary
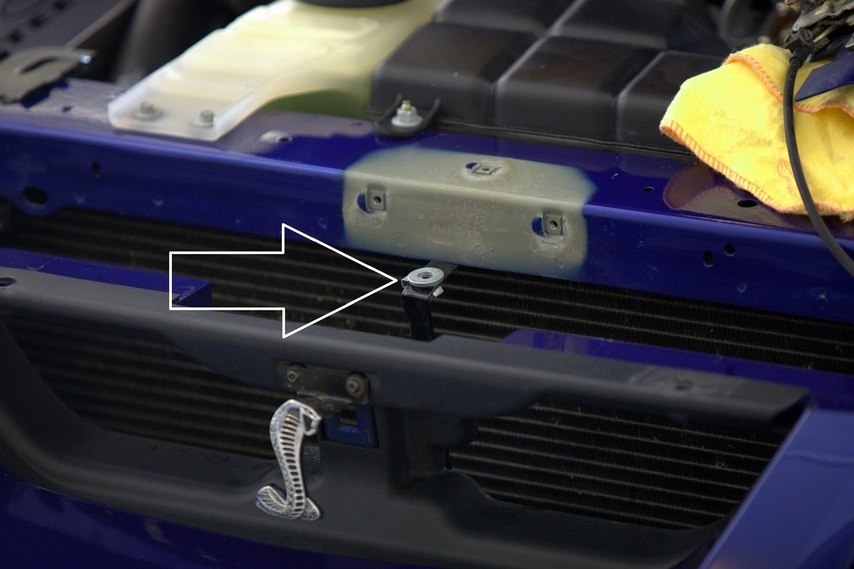
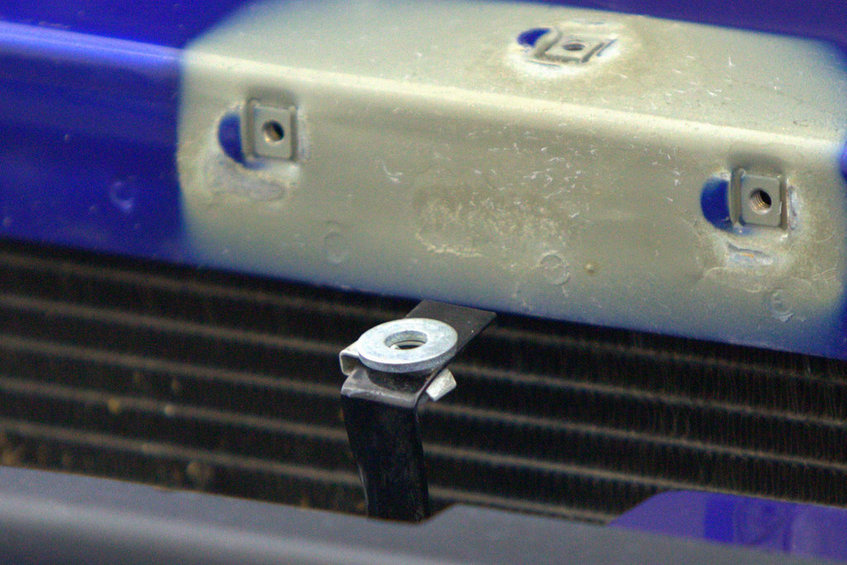
Step 7: Close-up of washer. I used a fairly thick one. Two may be needed
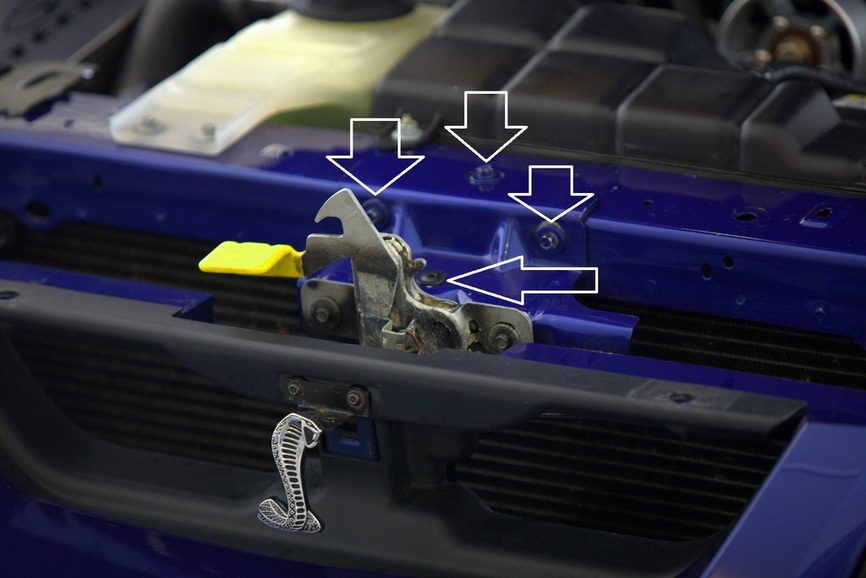
Step 8: Put latch back in place and tighten T-30 screw about 3/4 of the way leaving it loose
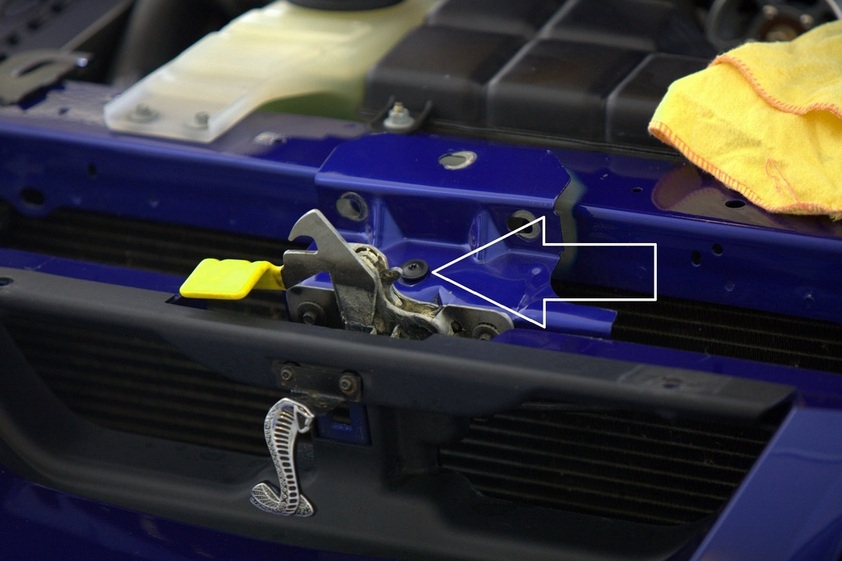
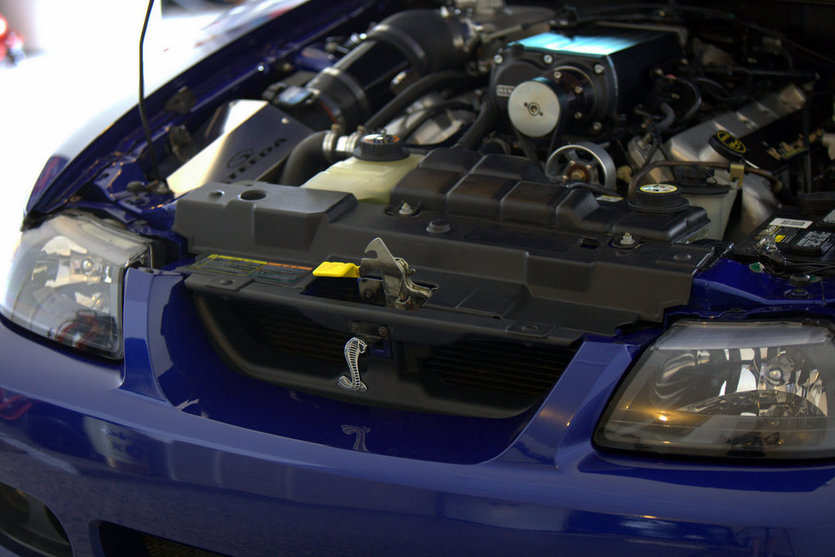
Step 9: Start the three 5/16th bolts. Tighten the two forward facing bolts first, then the bolt on top and then the torx screw. Don’t over tighten the torx, the cheap clip won’t put up with it. I took the time to use touch up paint and paint the scratched screw heads and bracket. It is covered though so it doesn’t really matter unless you are OCD
Step 10: Reinstall the plastic cover. Install grommets first then the plastic screws just push in
Step 11: Close hood and check alignment on each side
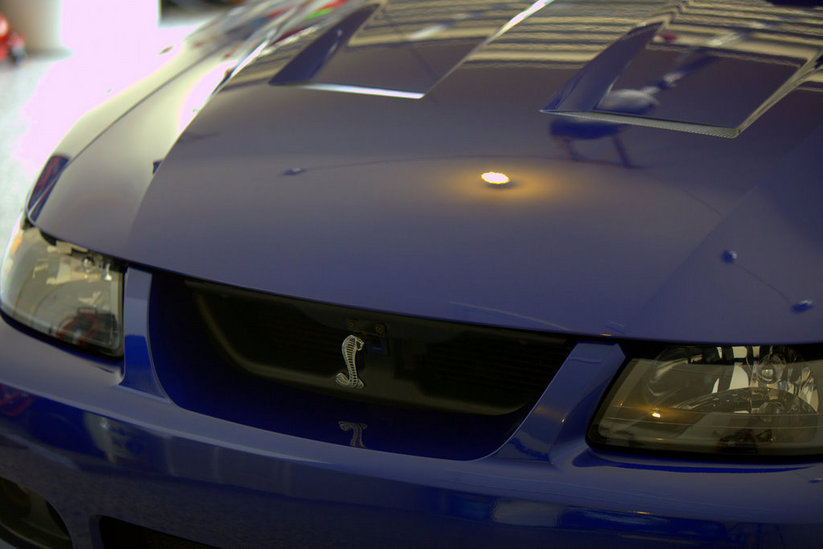
Step 12: Adjust bump stops under hood to get the hood flush with fenders
Step 13: Check both sides
Conclusion
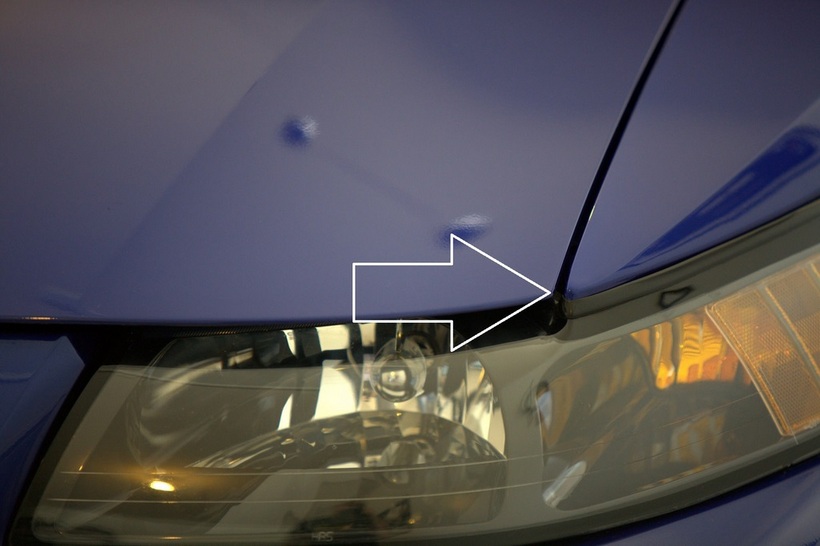
Make sure that when the hood is closed and the bump stops are adjusted that the hood doesn’t float. Check it by closing the hood, pulling up and down on the hood to make sure it is not loose. Raising the latch too much and lowering the bump stops may make the hood loose. You are looking for the sweet spot between the three contact points on the front of the hood. If your hood still is difficult to shut you may try and install two washers stacked and make sure the latch is lined up with the hole in the hood.
By Evilcartman
By Evilcartman
